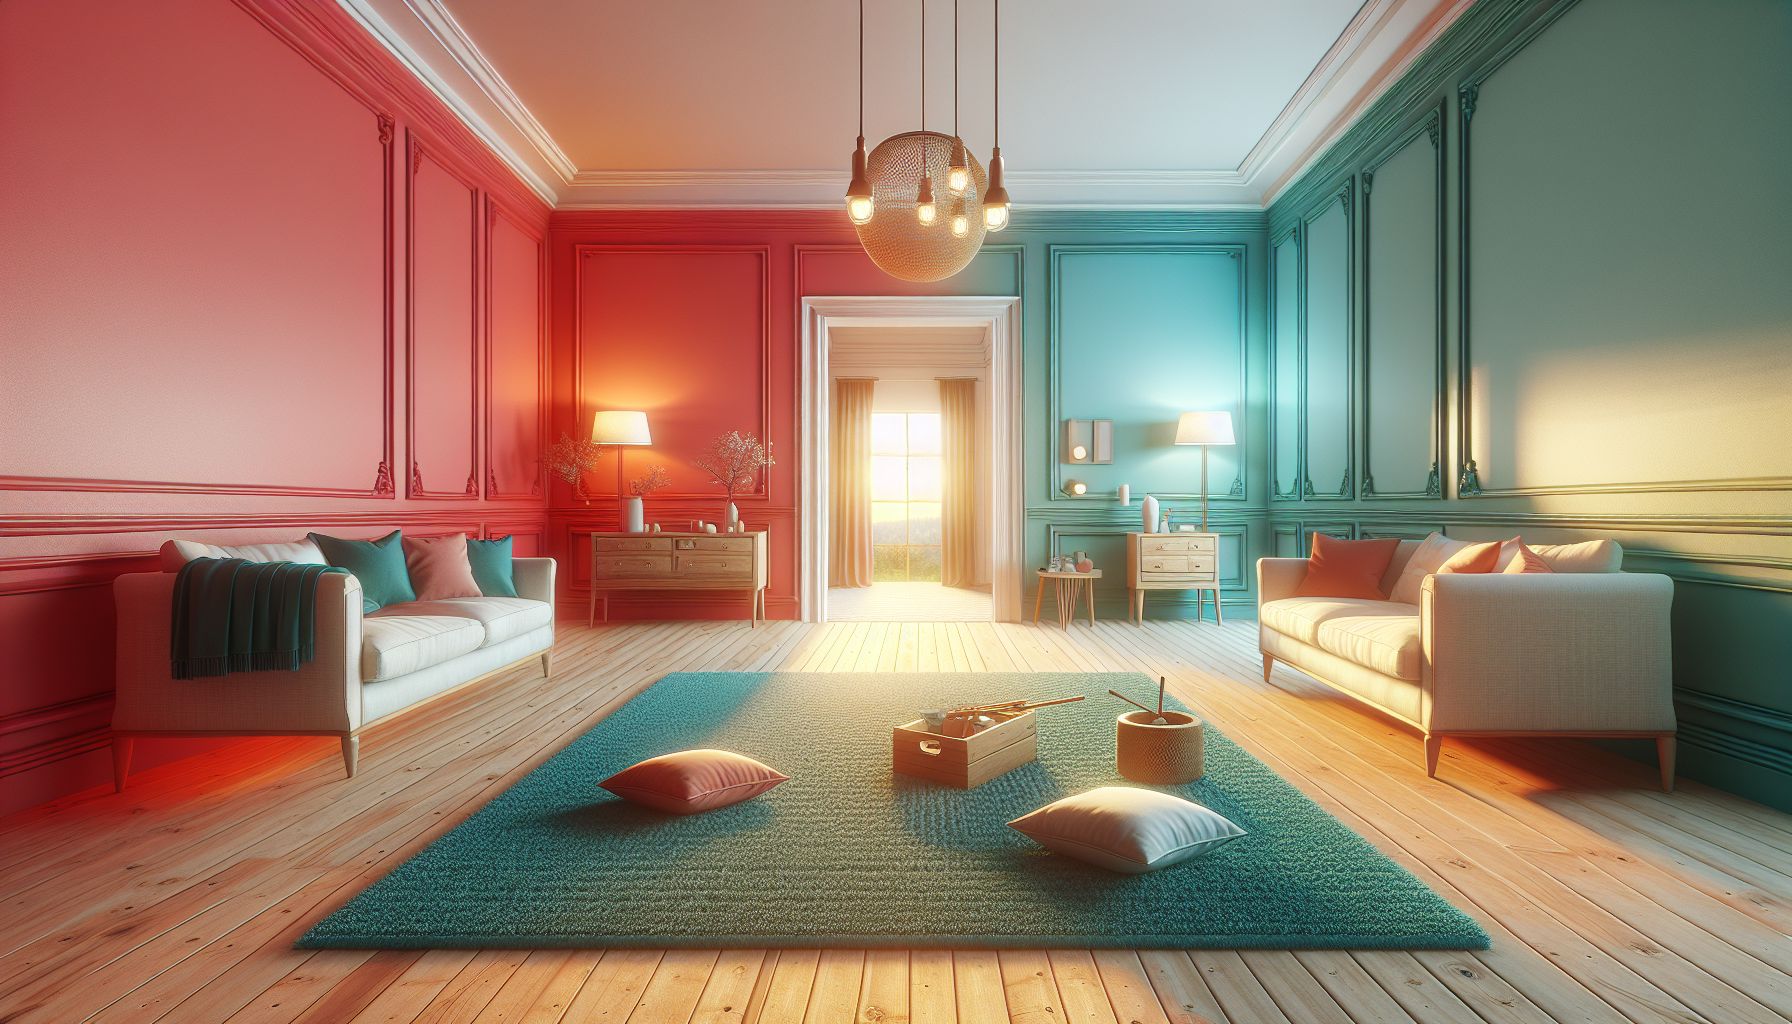
Picture this: a room that’s not just bright but alive, filled with colors that make you smile. A fresh paint job breathes life into your space. It makes everything look and feel new.
Where to begin though? Choosing from a sea of colors and figuring out the best way to paint can be daunting. We’re here to guide you through the whole process.
This article will give you expert advice on picking paint, prepping, and the tools you need. You’ll find awesome color suggestions, easy DIYs, and clever painting tricks. And we’ll also help you avoid some major painting no-nos.
Are you a pro or just starting out? This guide is for you. It’s time to pick up that paintbrush and start changing up your space!
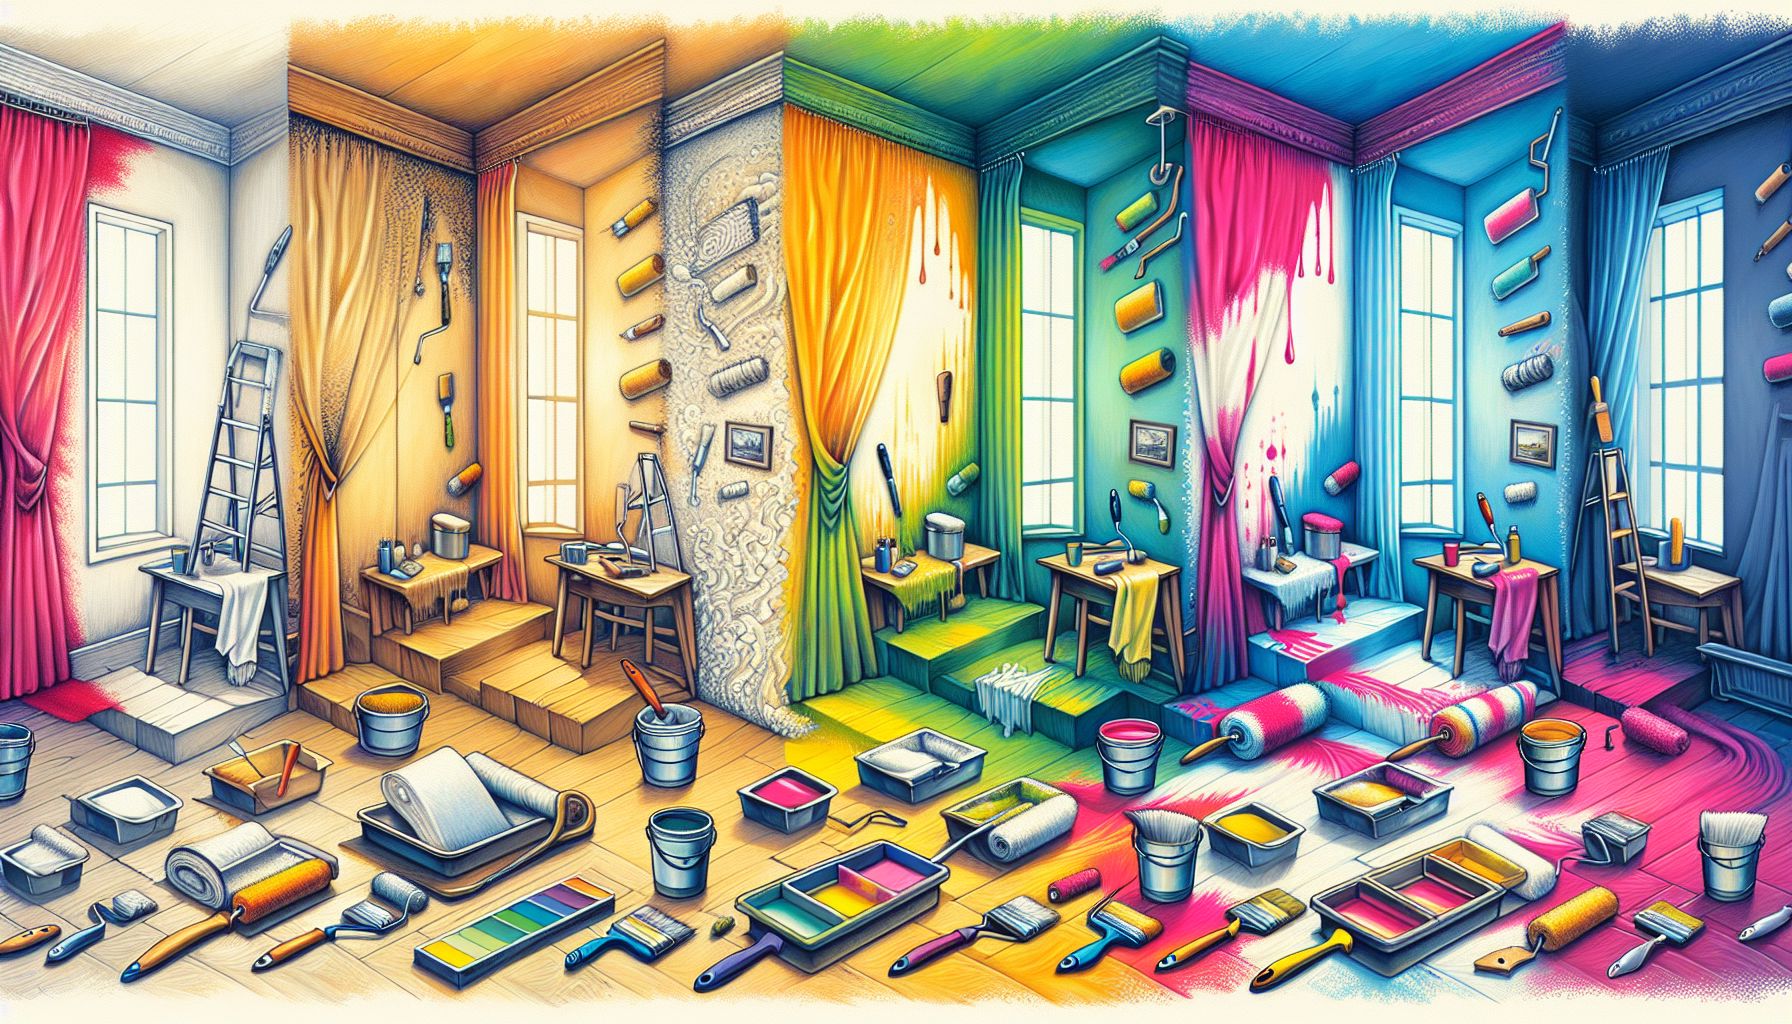
Prepare the Room
Before you paint a room, getting it ready is key. Follow these steps for a better painting time:
- Move furniture: Start by taking all the furniture out. If you can’t, move it to the middle. Then, cover it with drop cloths or plastic. (*move furniture*)
- Protect surfaces: Cover up places where paint might splatter. Use drop cloths or plastic to keep the paint off. (*protect furniture and surfaces, use drop cloths*)
- Use painter’s tape: Put painter’s tape on corners and edges. This makes sure your paint job looks neat and doesn’t go where you don’t want it. (*painter’s tape*)
- Repair drywall: Check the walls for any damage. Fix these spots with spackle or joint compound. Let it dry fully before sanding smooth. (*repair drywall, patch holes*)
Getting the room ready right sets up your painting for success. Protecting furniture, covering surfaces, and fixing walls makes a big difference. Now, you’re ready for the fun part – painting!
Choose the Right Paint and Finish
Picking the right paint for your room is key. The colors and finishes you choose can change everything. Colors set the mood and atmosphere in a room. Try to look at paint colors in your room’s natural light at various times of day.
Using swatches or small paint pots to test colors on your walls is smart. This lets you see how the colors match the room’s lighting. Keep in mind, colors could look different on a small swatch than on a full wall. So, testing the colors on your walls is best.
In the old days, painting the trim and ceilings white was common. But today, using the same color on both walls and trim is fine. This gives your room a unified look. Or, you can paint the trim and ceiling a different color for contrast.
The paint finish is also important. Different finishes vary in sheen and durability. For walls, flat or eggshell finishes work well. They hide wall imperfections and look smooth.
For areas that get a lot of use, like trim, choose satin or semi-gloss finishes. These finishes are easier to clean and they last longer. They don’t show marks as much. This makes them perfect for busy places.
Choosing the best colors and finishes elevates your room’s look. Testing colors and finishes is worth your time. It ensures each room’s look and feel is just right. So, use swatches, be creative, and give your space a new life with paint.
Calculate the Amount of Paint Needed
Before starting a painting job inside your home, you must figure out how much paint you need. A paint calculator makes this task easy. Once you enter the room’s size and details like the doors and windows, it tells you how much paint to buy.
Factors to Consider:
- The Number of Coats: Sometimes, you will need to paint more than once to get the color you want. Changing from light to dark colors usually means extra coats.
- Primer Application: If the old color is very different, a primer can help. It makes the new paint stick better. Using a tinted primer can even cut down on the coats you need.
- Wall Surface: The kind of wall can also change how much paint you need. Plaster walls might need a special primer for the paint to stick well.
Thinking about these things and using a paint calculator helps a lot. You won’t run out of paint, and you’ll use your materials wisely.
Now, since you know how much paint to get, it’s time to ready your walls for the color.
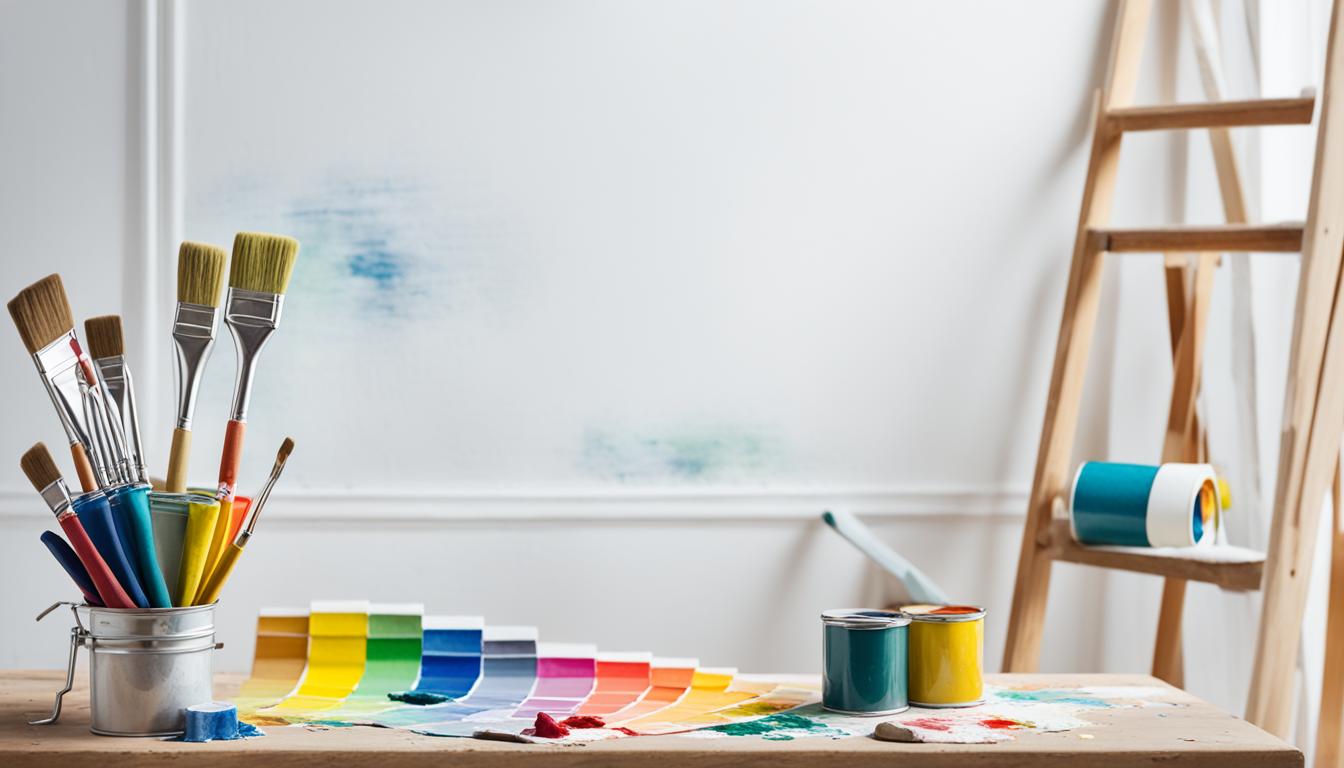
Prepare the Surfaces
Before you start painting your walls, get them ready. Follow these steps for a neat, professional look:
- Put on safety goggles and a face mask. This is crucial, especially if your house is older than 1978 and may have lead paint. Safety always comes first when painting or handling chemicals.
- Clean your walls with a mix of dish detergent and warm water. This step removes dirt, grease, or grime that could stop the paint from sticking well.
- Patch up any holes or cracks with joint compound. Use a putty knife to smooth it out. This makes the surface even for painting.
- Lightly sand the surfaces with sandpaper. Smooth out any rough spots or imperfections. This step helps the paint go on evenly and look fresh.
- Take off light switch and outlet covers so they don’t get painted. Cover anything else you don’t want painted with a drop cloth or plastic sheet.
Taking time to prep your walls sets the stage for a top-notch paint job. It makes the project look professional and polished.

Use Painter’s Tape for Clean Lines
Painter’s tape is a must for pro-looking paint jobs. It creates sharp lines and stops paint from seeping under. This means your paint job will look polished and clean.
First, stick painter’s tape on room edges, moldings, and around doors and windows. It keeps the paint where you want it. Use a putty knife to press the tape down firmly, stopping paint from getting through.
Also, take off light switch and outlet covers before taping. Then, tape over the outlets and switches. This stops messy paint from ruining your fixtures.
Wait for the tape to set as long as the instructions say before painting. This makes sure it sticks well and won’t pull off paint. Always follow what the tape maker recommends.
With the tape down, paint freely. You can be precise without fear of paint bleed. Your lines will be sharp and clean thanks to the tape.
So, remember to use painter’s tape for a pro look. It’s a simple step that makes a big difference. Enjoy your perfectly painted spaces with neat edges thanks to the tape.
Apply the Paint
After prepping the room and picking the paint, it’s time to begin. Follow these steps for a high-quality look.
- Cutting In: Start by painting along the room’s edges with a small angled brush. Paint the line where walls meet ceilings, floors, and corners. Be sure to also paint around anything smaller like light switches and frames.
- Rolling Technique: Next, use a roller to paint most of the walls and ceilings. Pick a roller size and nap that match your surface. For rough walls, use a thick nap. For smooth ones, use a thin nap. After dipping the roller in paint, roll it on the tray to even out the paint. Then, paint with a tight “W” pattern. First, go up and down, then left and right. This way of painting will make the finish even and avoid lines.
- Drying Time: Let the first coat dry for two to four hours. Then, it’s ready for a second coat. It’s important not to rush this step. Waiting ensures the best look and lasting color.
Always check what the paint label says for the best timing and advice.
Using the best tools and methods is key to a perfect paint job. Work carefully, starting from a corner and moving across. This way, you’ll keep the paint even and avoid missing spots.
Finish and Clean Up
Finishing and cleaning after painting ensures a great final look. Let the paint get a little dry before you pull off the tape. Remove it at a 45-degree angle to keep the lines sharp and professional.
After the tape, it’s brush and roller cleaning time. For latex paint, use soap and warm water. You should gently clean until all the paint is gone. Let them dry in a breezy area before putting them away.
With oil-based paint, you’ll need a cleaning solvent. Always follow the maker’s cleaning advice. Make sure you rinse them well and let everything dry totally before you store them.
Cleaning properly will make your tools last longer. It also means your next painting job will go much more smoothly.
Tips for Cleaning Brushes:
- Use a brush comb or brush spinner to remove excess paint from the bristles.
- Avoid using hot water as it can damage the brushes.
- Gently reshape the bristles with your fingers while rinsing them to maintain their original shape.
- For stubborn paint stains, use a brush cleaner or conditioner to soften and remove the paint.
Tips for Cleaning Rollers:
- Use a roller cleaner tool or a putty knife to remove excess paint from the roller cover.
- Place the roller cover under running water and use your hands to squeeze out the paint.
- Continue rinsing the roller cover until the water runs clear.
- Gently squeeze out excess water and allow the roller cover to air-dry completely.
Light Gray – A Grounding Choice
Light gray paint is a top pick in interior design for its modern and minimalist look. It’s neutral but not boring, offering a sense of balance and sophistication.
This color is softer than charcoal, perfect for a calm vibe. It makes rooms feel cozy yet spacious. Light gray can enhance any decor style, whether you’re painting a wall or an accent area.
Dark decor items shine against a light gray background. Your favorite pieces will stand out, creating a unique and stylish look in your space.
Not sure about a bold color? Light gray lets you play with subtle shades and textures. You’ll find a shade that matches your taste, from warm to cool tones.
Looking for a versatile color that’s easy on the eyes? Light gray is ideal for any interior painting project. It brings a touch of elegance and calm, favored by many.

Image of a room with light gray painted walls, showcasing the versatile and grounding nature of this paint color.
Taupe – Neutral and Versatile
Taupe is a top pick when choosing paint for your indoors. It’s like light gray and acts as a neutral tone. It can go well with any style or design. This makes it a great choice for many homeowners.
What’s special about taupe is how it teams with white. Paint your walls half taupe and half white for a cool contrast. This look not only adds charm but also makes the room seem bigger and brighter, especially in rooms with low ceilings.
Taupe’s neutrality lets it blend with many other colors and decor. It looks great with neutrals, so you can mix in shades of beige, brown, or gray. You can create a look that’s modern, minimalistic, or warm and cozy with taupe. It just works with any style you pick.
Thinking about a new paint project indoors? Choosing taupe can give your space a versatile and appealing look.
Mint Green – Refreshing and Relaxing
Mint green paint is a pastel color that brightens a room. It has a light and airy vibe, making the room feel relaxed and stylish. This color is great for accent walls or patterns. It adds color without making the room too busy. Mint green is perfect for a peaceful bedroom or a chill living room.
Choosing mint green for a room makes it calm and peaceful. This color is a part of the pastel family, loved for their soothing effects. Mint green is soft and great for bedrooms, nurseries, and places to relax. It can also make a small room look bigger and more open.
When you use mint green, think about adding it as an accent or using it in patterns. It goes well with neutrals like white and cream. It also looks good with other pastels such as light pink and lavender. These choices make a soothing mix. Adding natural elements like wood can boost the calming vibe of the color.
Adding mint green paint can really enhance the tranquility of your home. It brings in a refreshing and relaxing feel. This makes your home a perfect spot to unwind after a busy day.
Conclusion
Painting the inside of your home can be thrilling and satisfying. These tips will help you get a look that’s top-notch. Choosing the right paint, prepping well, and the right painting tools are key.
First, pick a color and finish that matches your style. Make sure to prep the room right and protect your stuff. With the correct amount of paint and the best tools, your space will look perfect.
Be bold and try different colors to light up your area. Whether you’re DIYing or hiring help, these tips will make the job better. Avoid mistakes, and have fun making your home a place you adore. These tips will lead you to a lovely, updated living space.